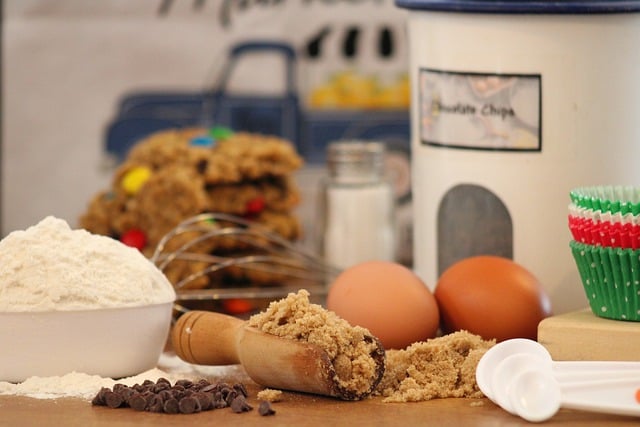
Today is National Baker Day. When I think of such a day to celebrate the fun of baking, I think of how easy that task is to do when one’s kitchen is organized. Look around your own kitchen and pantry. Is it well organized to make baking or preparing any kind of meal an easy or difficult task? Today we are going to concentrate on simple steps to get your pantry organized.
Empty Shelves
Let us concentrate today on just emptying shelves that have food related item.
Check Expiration Dates
As you handle every item as it comes off your shelf, now is a great time to look at the expiration date. If expired, toss contents and try to recycle the outer container. If the expiration date is soon, make sure to put in the front so you use it before it expires.
Arrange Like with Like
My favorite organizing phrase! Think like a grocery store in term of how to group items. Condiments, breakfast food, grains, baking, are just a few categories to begin with.
Clean
When all the shelves are empty, wipe them down to get rid of crumbs and any gooey spills.
Return Items to Shelves
Think about what you use the most frequently and who else in your household will be helping themselves to items or putting away groceries for you after shopping. Can they reach what they need? Prime real estate is the area where the most used items should be placed. As you empty the pantry, naturally create your categories. Those groupings of categories now need to go back on the shelves.
Consider Your Containers
Some items may lend themselves to be grouped together in clear containers. These include items such as individually wrapped snacks, packets of seasonings, or opened bags of grains.
Label
Once all items are back on shelves in your pantry, consider labeling the shelves so everyone knows where to find and to return items to their original, organized space. Any clear container should also be labeled.
Ta Da!! Now that your pantry is cleaned and organized, it should be a pleasant and fun experience to bake your favorite dessert or snack.
Photo: Pixabay

 Join My Email List